PROJECTS
Portfolio
RESUMÉ
| Hydrothermal Vent Crab |

This is one of the many projects I was tasked with creating for Griffith Observatory’s show ‘Signs of Life.’ It was created for a sequence exploring how life forms in even the most extreme of conditions – under the immense pressure of the oceans floor, with contrasting temperatures of freezing and boiling water. I made several creatures for this sequence, including blind fish, and chemosynthetic tube worms, but out of all of them, this was my favorite. I couldn’t resist updating it. Below is a breakdown of the model, texture, groom, and rigging processes.

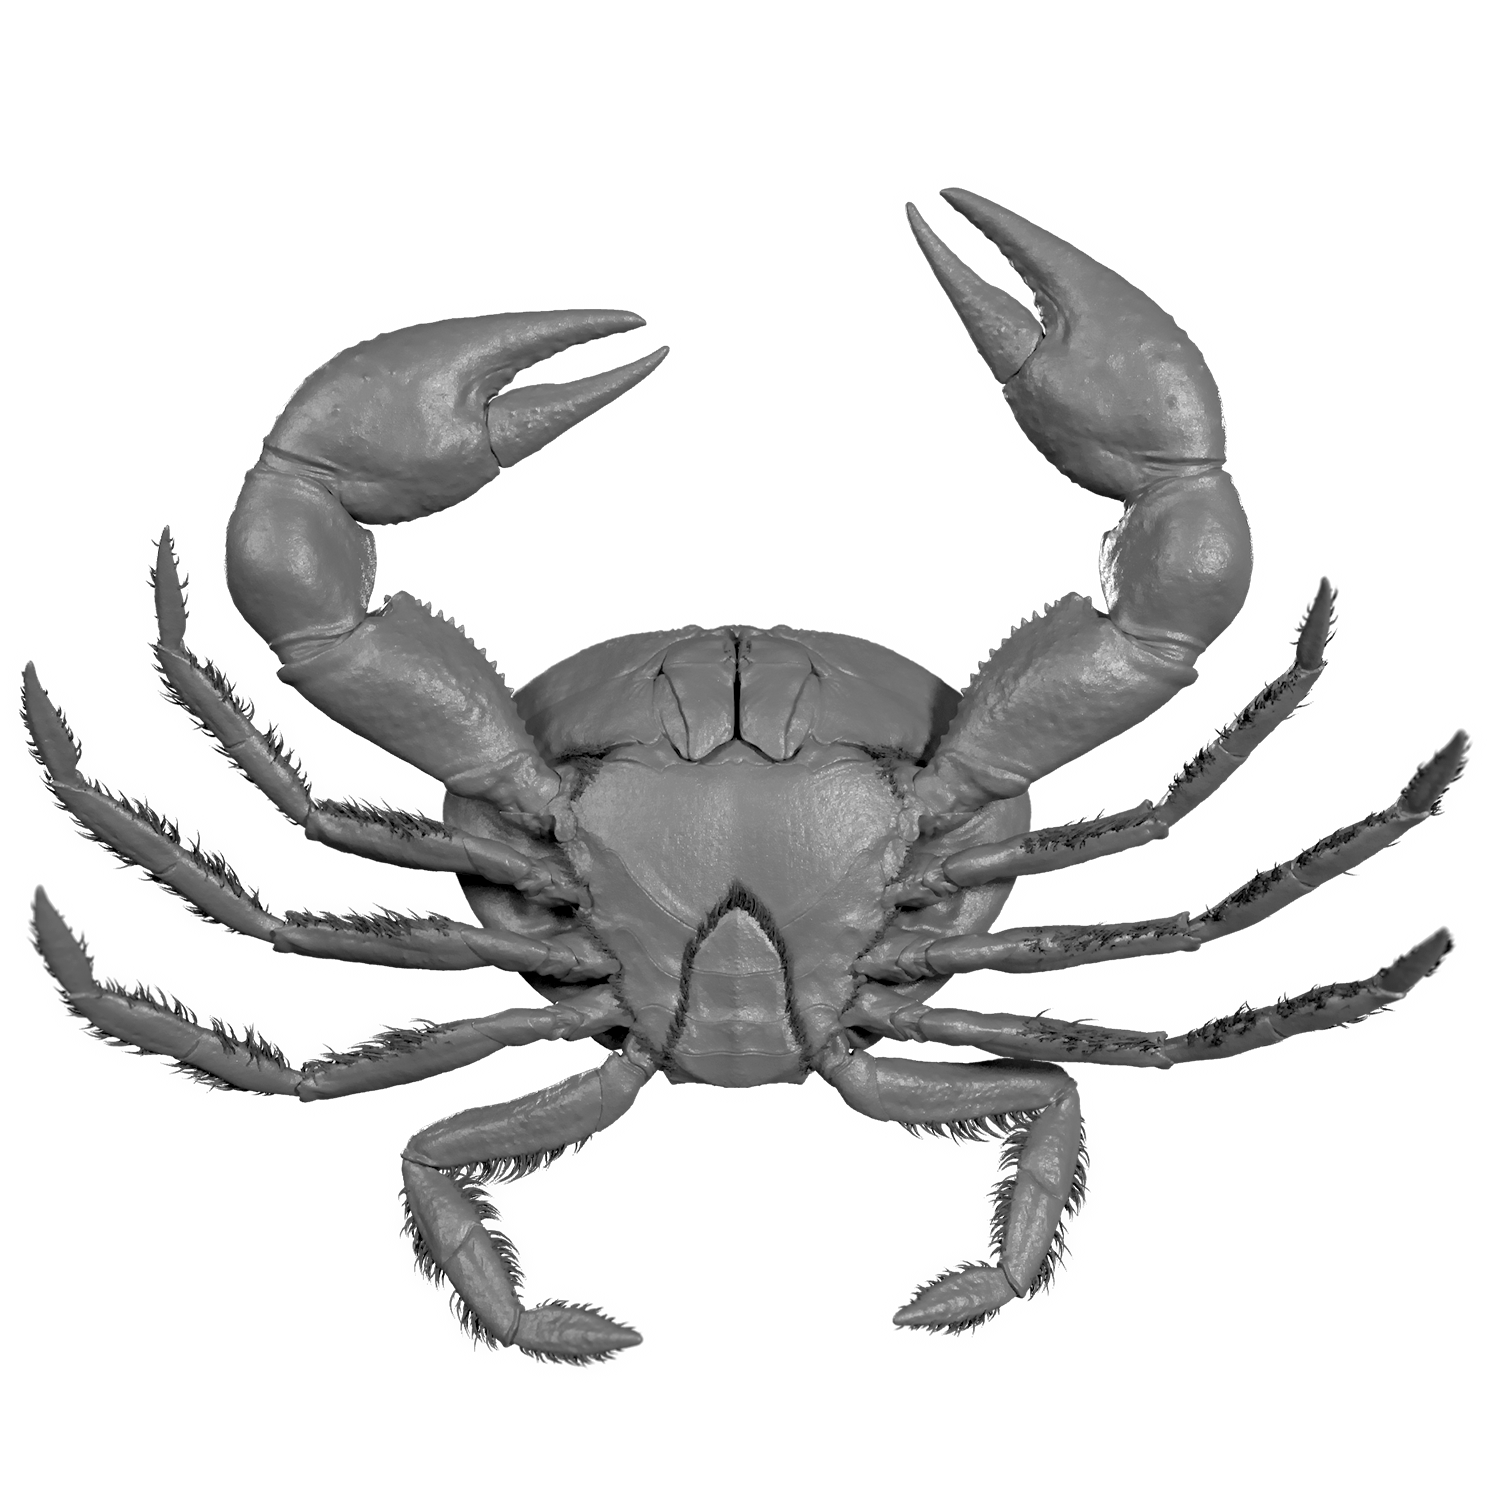
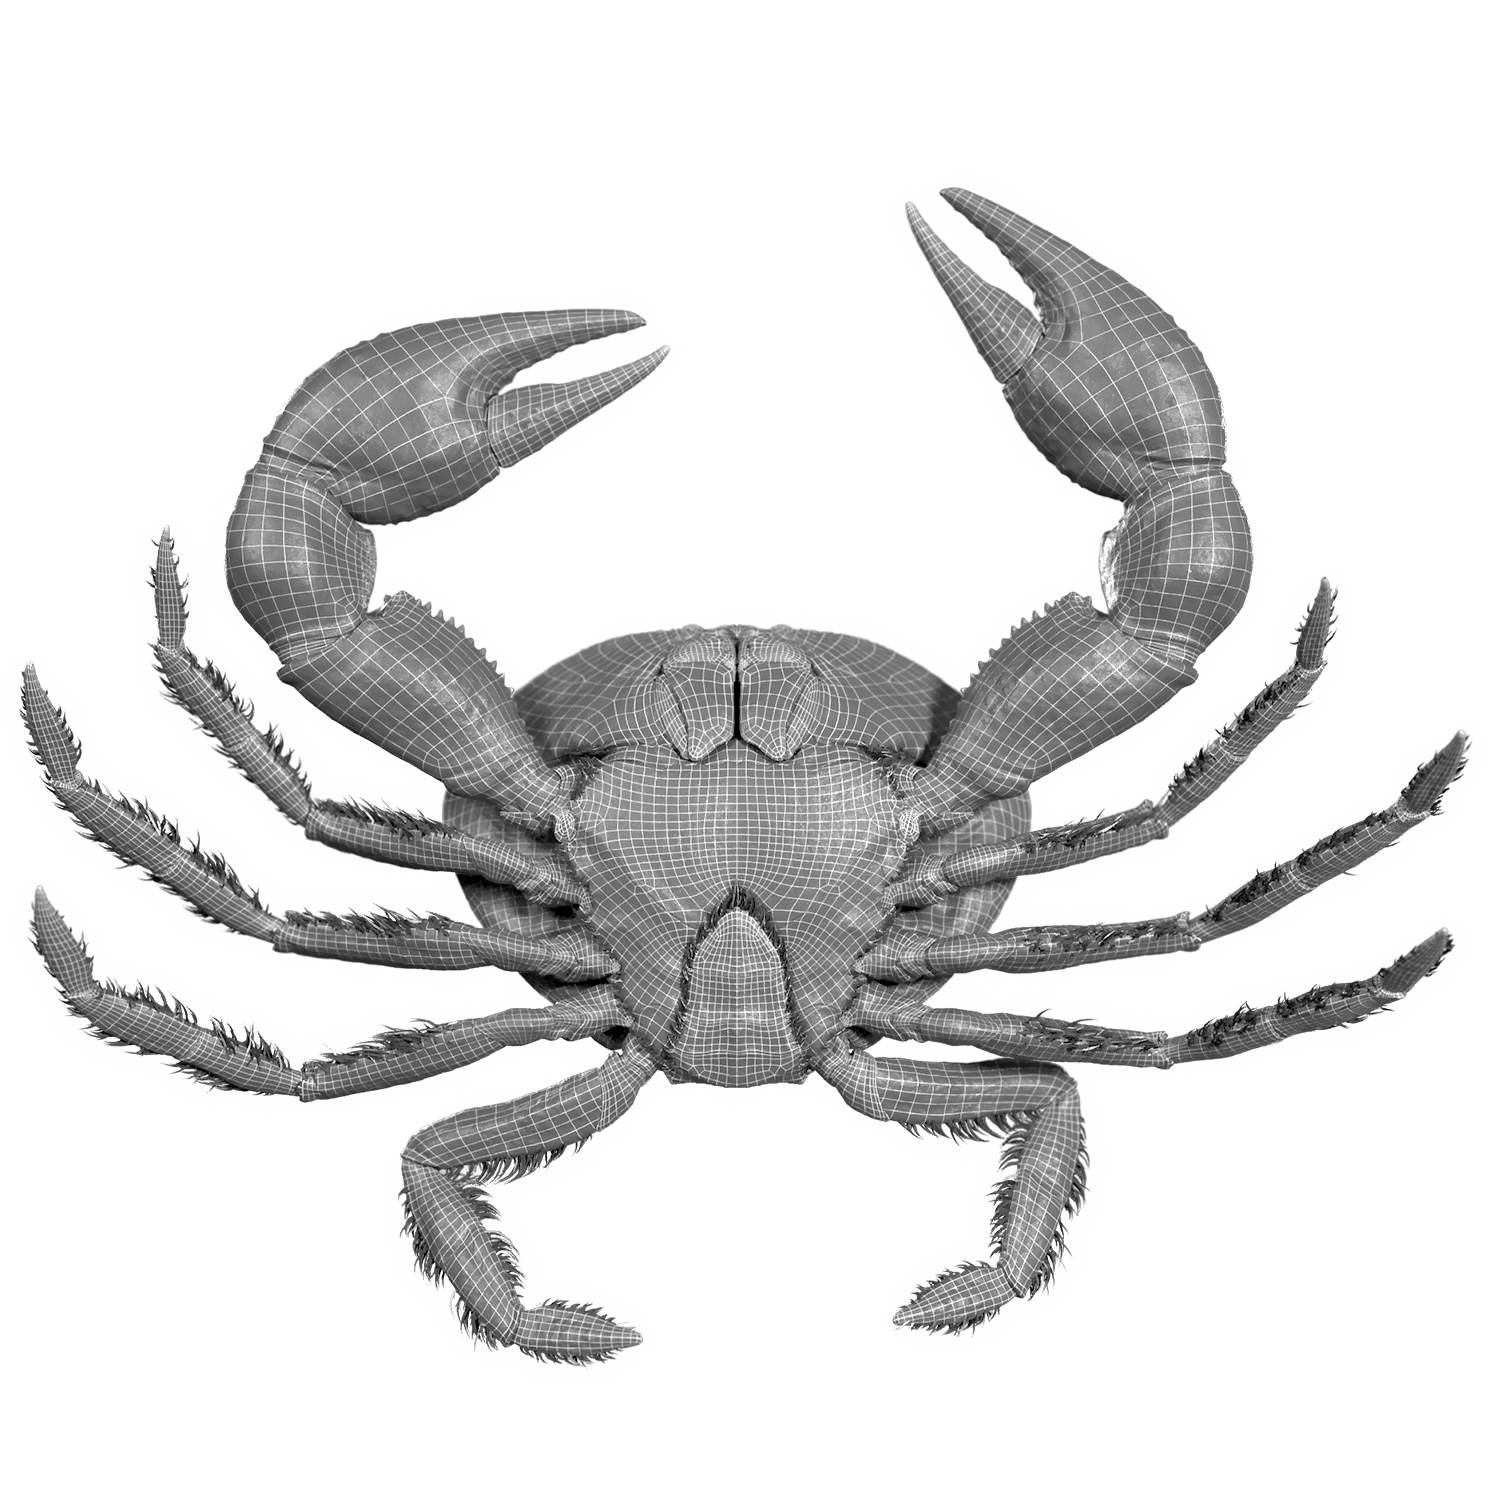
Model | Sculpt
This model was started in Zbrush from the original low-resolution basemesh I have from the asset I produced for Griffith Observatory. The original model was created in only a few days, and was quite simple. I fully re-sculpted all of the details for this creature, and added the internal anatomy to the mouth. I updated the topology of several pieces in Maya to allow for better deformation in the rig.
For the final renders, the high resolution details were exported as an 8k, 32 bit displacement map out of Zbrush.
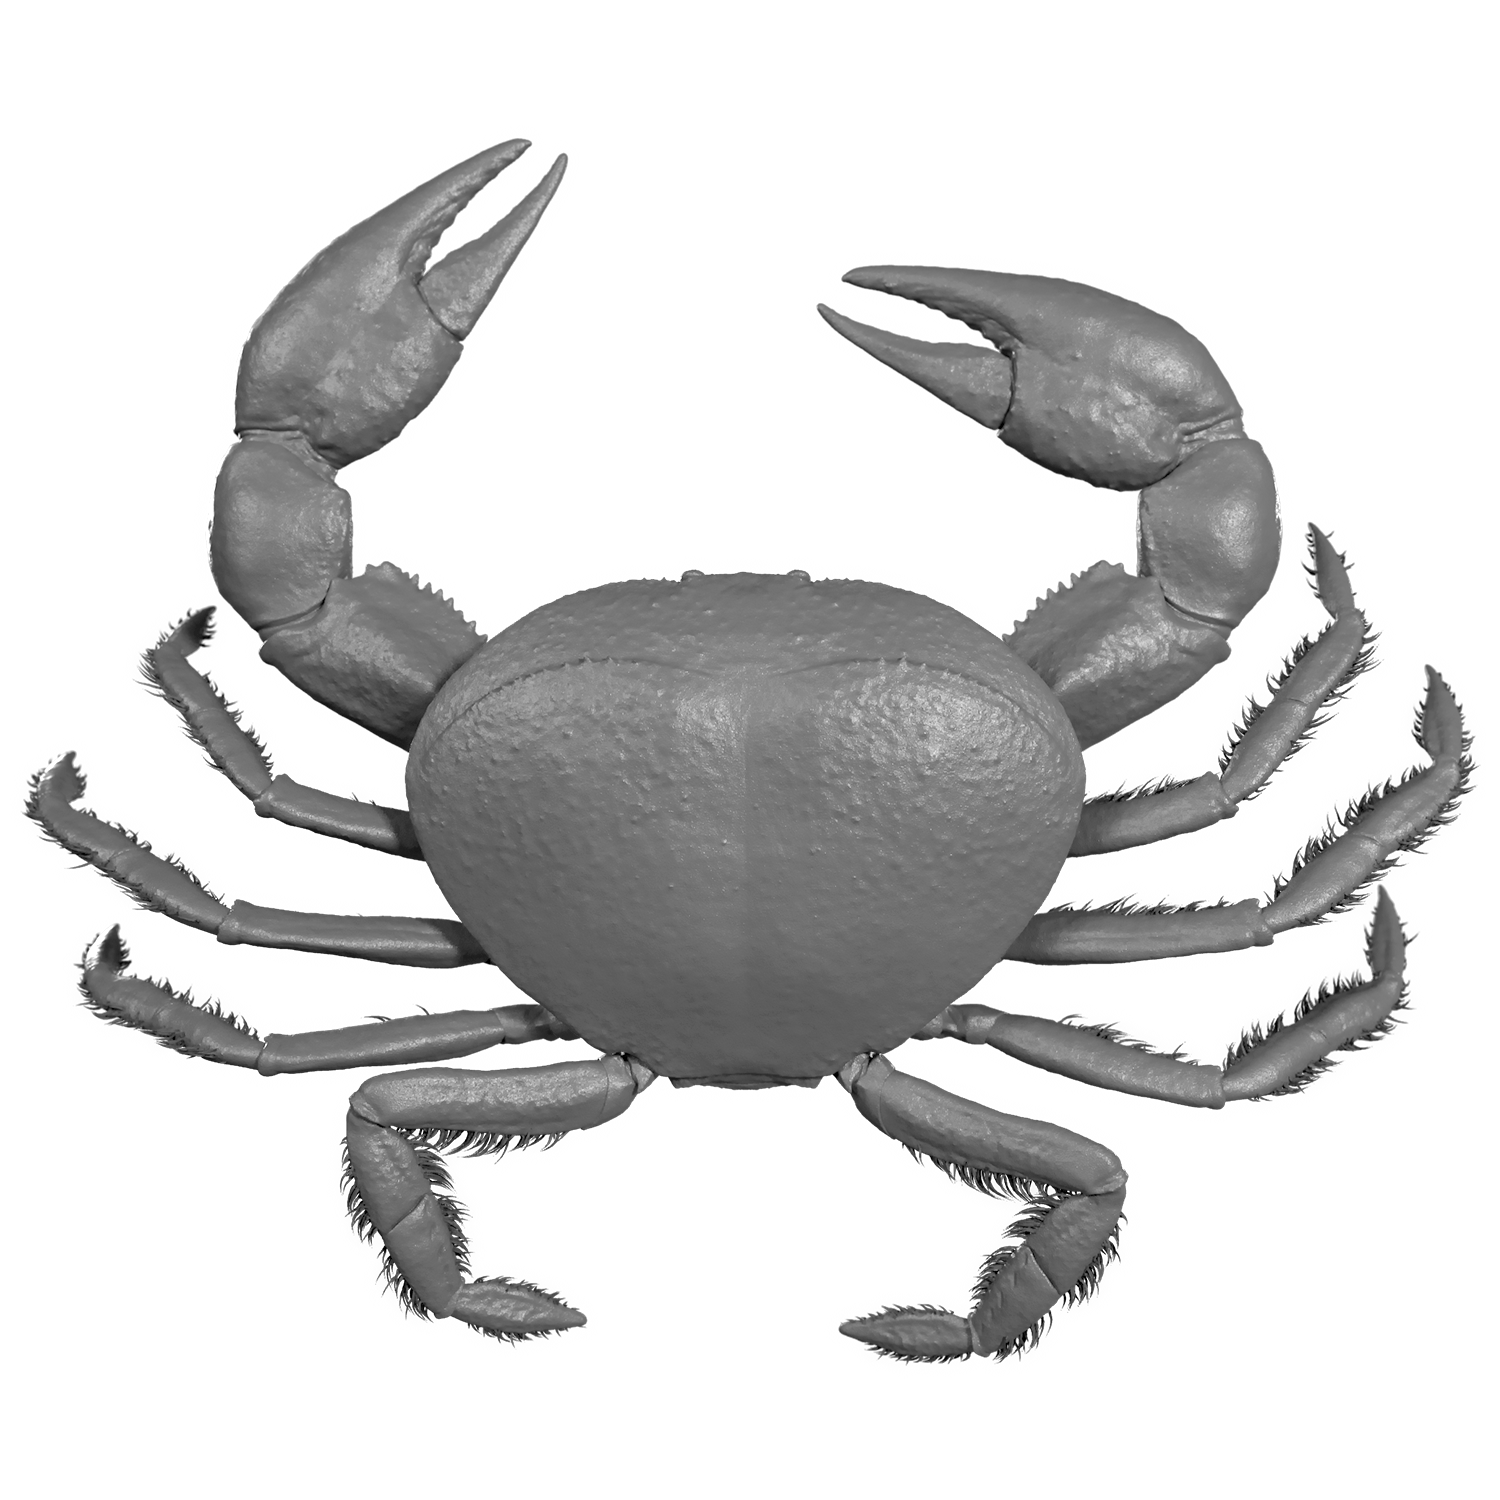
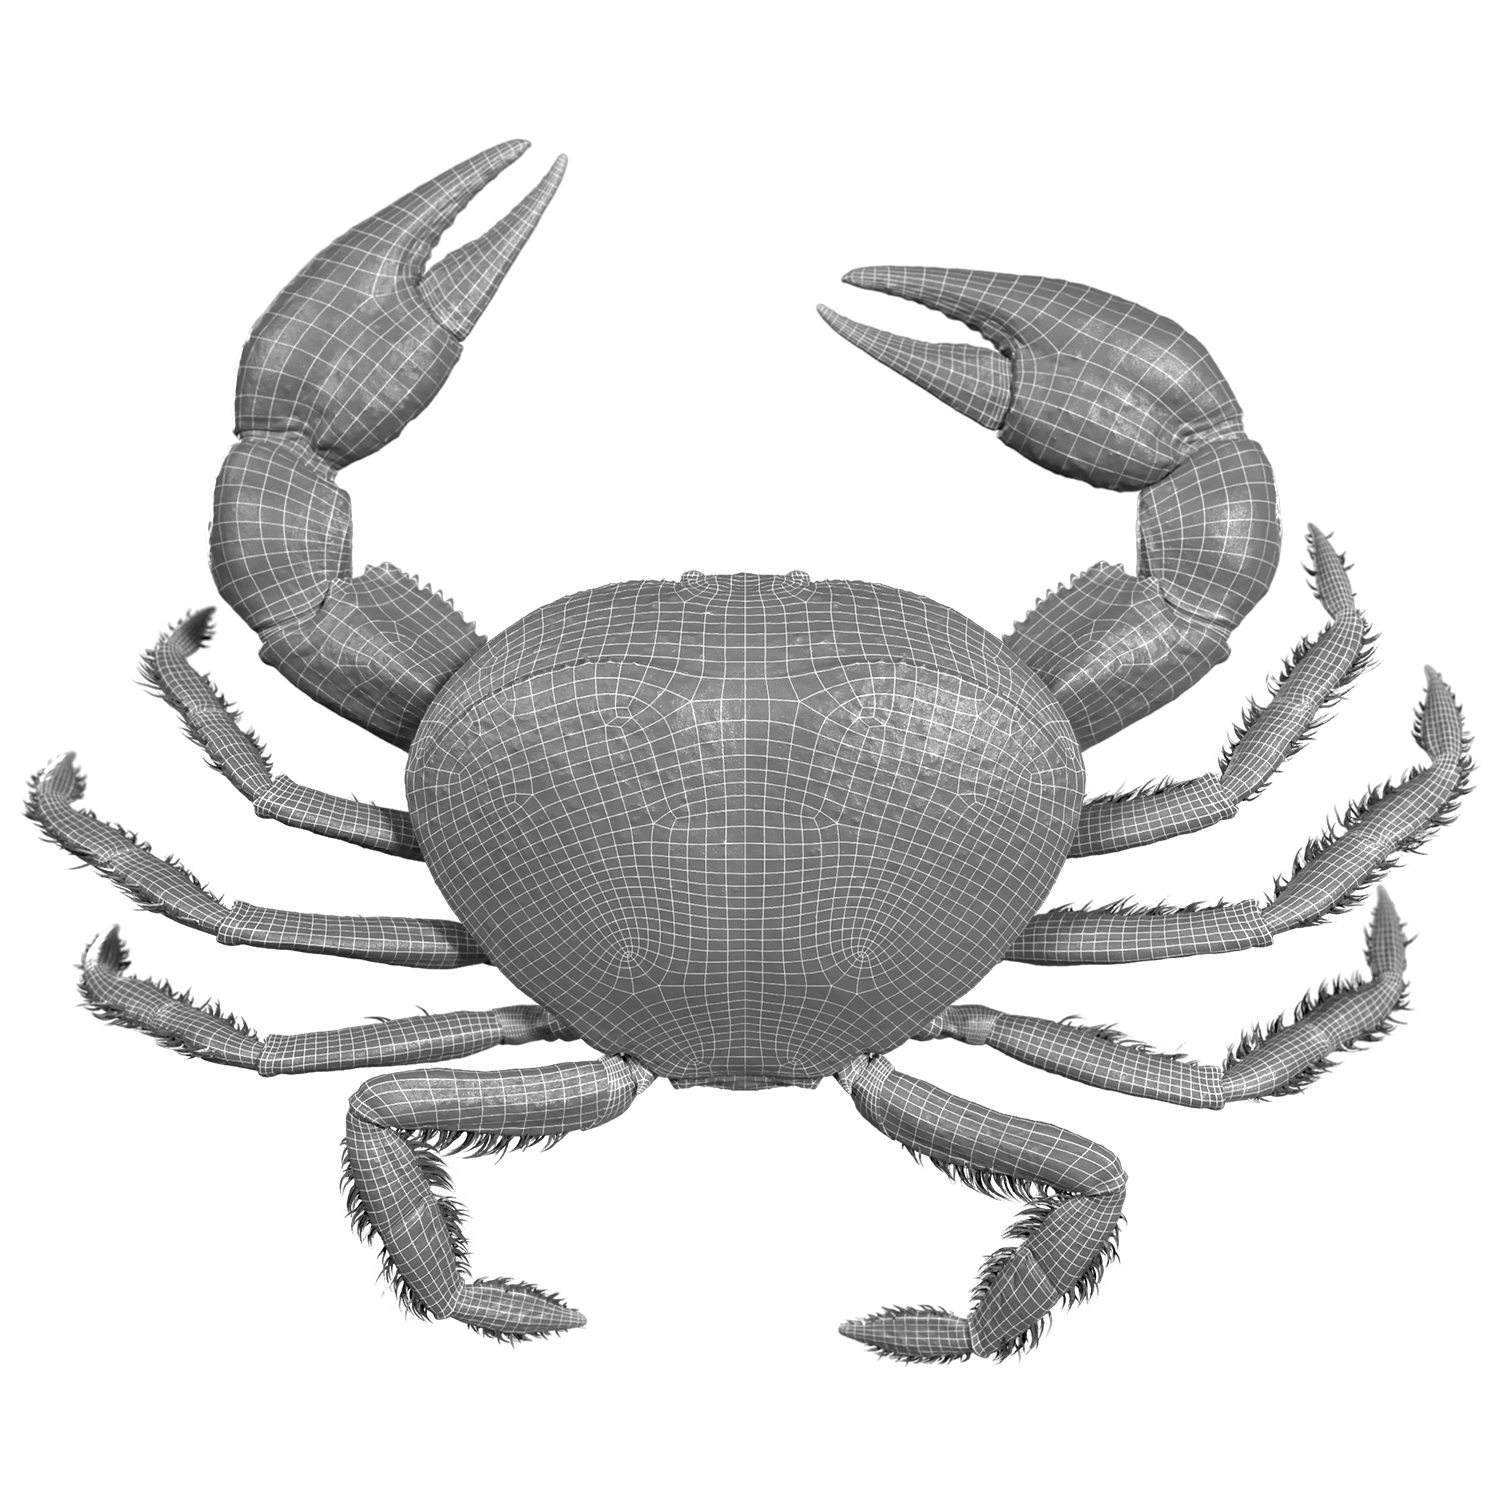
Polycount
LOD 0 : 374,076 | LOD 1 : 93,502 tris
Texture
For this project I decided to keep the original UVs, but completely rework the textures. The sequence these crabs were in didn’t showcase their textures, and my first take on them relied heavily on the shading parameters to carry the look without much help from file textures to drive their values.
With the new sculpt, I had a lot more information I could use for my baked maps, and this allowed me to add much more detail and control to the materials I created. All textures were hand painted, without the use of projection painting.


1 UDIM | 6 Texture maps | 8K resolution
Groom
The groom for the crab was created using Peregrine Labs Yeti, a hair grooming plugin for maya that produces very realistic results. I wanted to keep the grooms simple, but effective and believable. Using yeti’s tools, I created several grooms for different parts of the body, and was able to create a simple graph network template that allowed the fur to be consistent across the body. Using texture reference objects, I was able to attached the grooms to the rigged geometry, and thankfully it did not require simulation!

Setae, the hair-like structures on a crab’s body are strange on this species of crab. They’re flat, and sometimes connected to one another, acting like fins that aid the crab in swimming, as well as filtering the water for morcels of food. Yeti allowed me the control I needed to clump the Setae together in a way that would let them look flat, and authentic to the actual animal.

Below you can see the setae that are used for filter feeding within the crab’s mouth. I think they added a lot to the believability of the asset.

Rigging | Creature Tech
The rig was created fairly quickly using ‘Advanced skeleton’. Corrective shapes for the connective tissue on the joints of the limbs were created using the ‘Shapes’ Plugin. To get the fur to follow the body, texture reference objects were used – these map the grooms to their corresponding body parts. Movement nodes within the yeti graph editor are all that would be necessary to create turbulance within the grooms, since the hairs are short enough they wouldnt need to be simulated.