PROJECTS
Portfolio
RESUMÉ
| Goldfish |
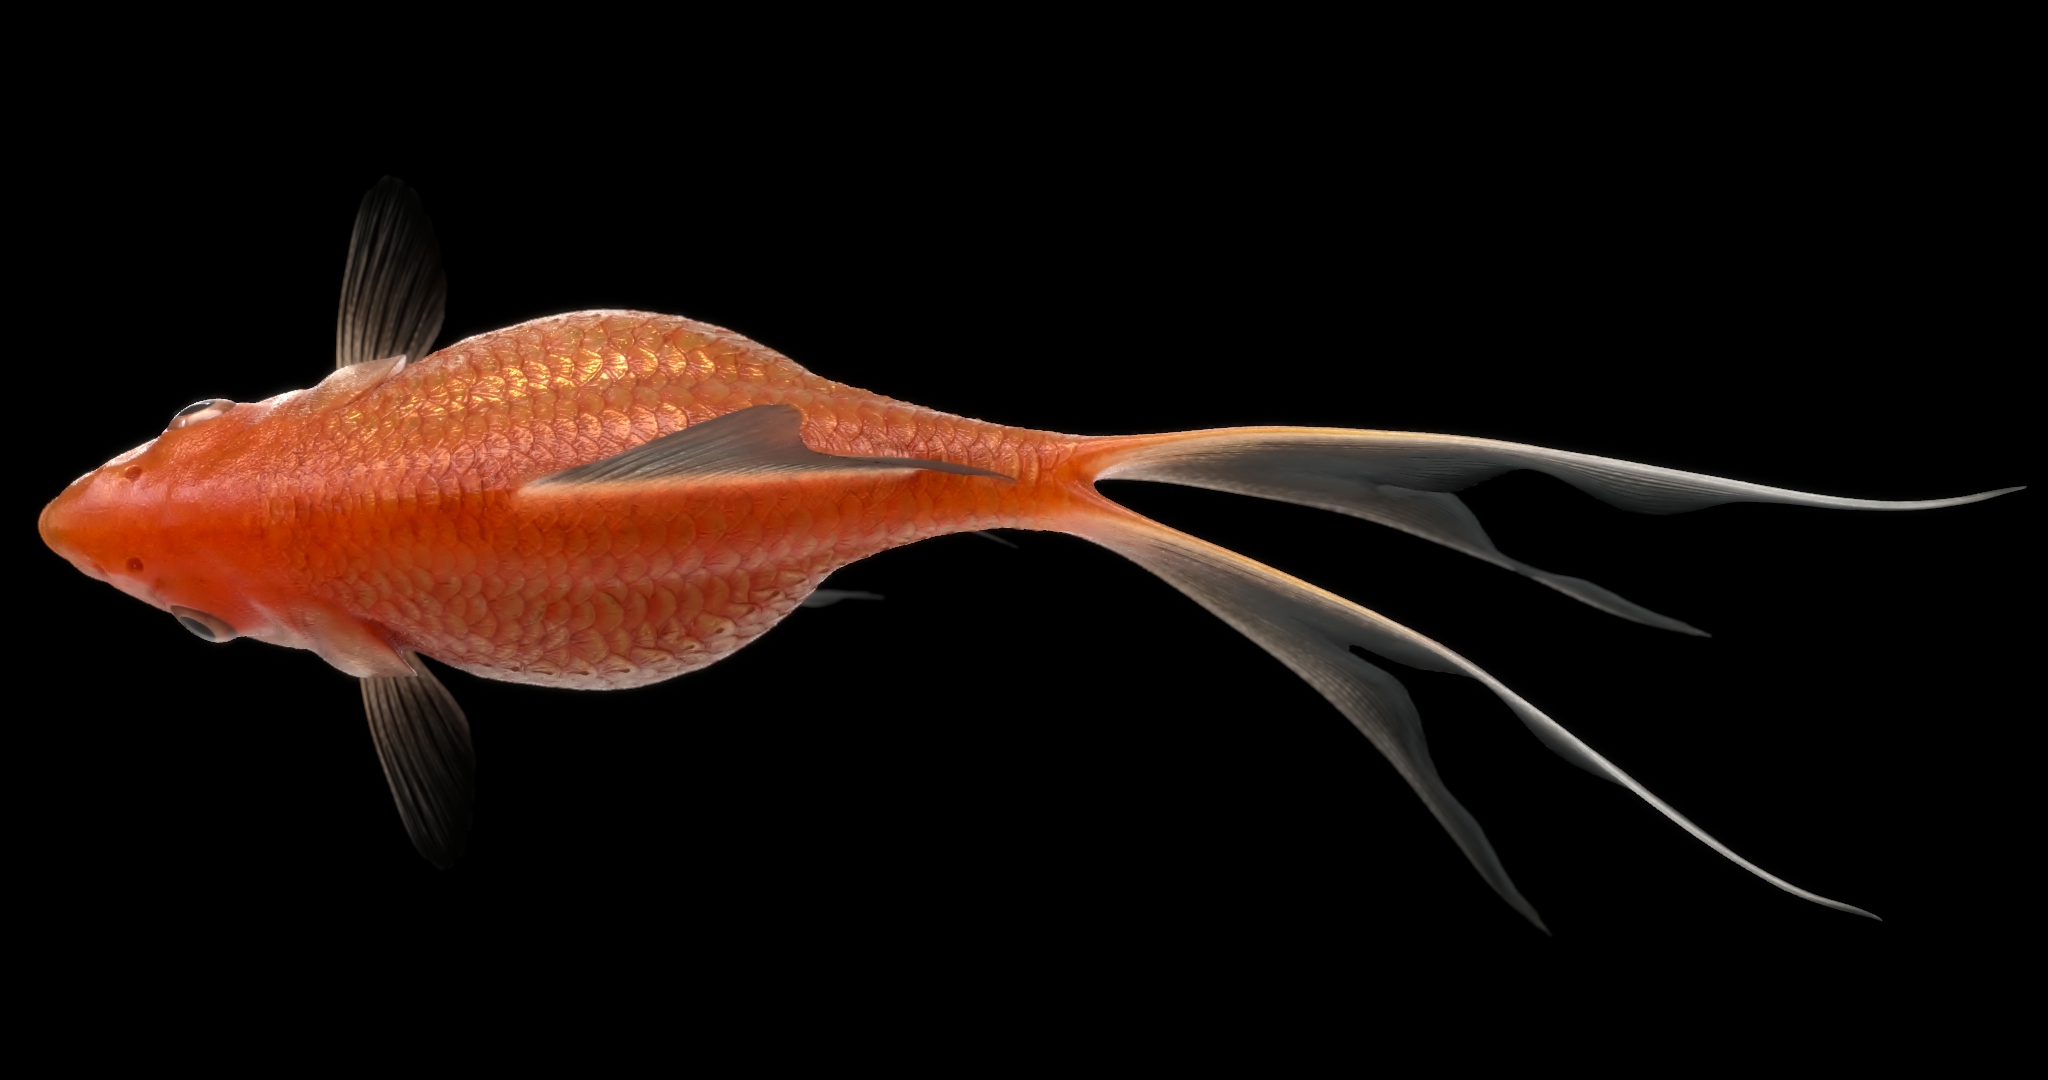
For Stept Studios, I was tasked with creating a goldfish asset for an Alienware commercial. It was a fun project, and above you can see the original asset that I modeled textured and rigged over the course of a few days. It was a very fast turn around, and I wasn’t able to give it the kind of life that I wanted, so I took it upon myself to update it, and take it to the level I wished I could have.

| MODEL |
The model topology was created with a back and forth between Maya and Zbrush. I wanted to capture the wispy thin fins in a way that rang true to life, but without the mesh collapsing in on itself during movement. This meant that for the thinner areas of the body, I needed to ensure that the topology was perfectly mirrored, on either side of each fin, which required the precision of Maya.

| SCULPT |
The sculpt for this creature was created in zbrush, and heavily relied on hand painted masks that I created in Substance painter. Each Scale was sculpted by hand, and great care was taken in sculpting the fin membranes to ensure they looked as close to the real animals, as possible. A 32bit Displacement map was exported from this model, which I later added more detail to in substance painter.
| TEXTURES |
The textures were created using Substance Painter, and were all hand painted. No Projection painting was used. I enjoy this process when working on creatures, since it lets me be a bit more creative during the process, even if the result isn’t always as realistic as using a photo. The shader setup was done in Arnold, and was quite tedious to tune. The material properties of goldfish skin were surprisingly unique and complex. Balancing their sub surface, metalic, and transmissive (transparent) attributes took a lot of fine tuning, and custom texture maps to drive the each variable. Luckily some of that fine tuning could be done in the hypershader, with adjustment nodes.

One interesting thing I got very familiar with on this project was working with dual specularity, with their own normal maps to control the way that light plays on, and beneath the surface. My main specular used the baked normal maps from substance painter, and pushing and pulling the surface of the model to create depth beneath the coat. The coat specularity used a tileable noise pattern as a bump input, making it appear that the surface of the model was coated with a thin shiny gloss, making the fish look just as slippery as the real thing. This effect is most visible on the gills.
| RIG |
The Rig for this asset was created using advanced skeleton. I wanted to create a rig that gives lots of control with minimal inputs, and got caught up creating driving systems for each of the fins to control their movement. I also added a dynamic system, which provides some very nice secondary motion for free.


Just Keep Swimming


